A+ Apples: Fall Pie Recipe Does Triple Duty
Fall. Sweater weather. The leaves start changing. There’s a chill in the air. While there’s no better fall activity than apple picking, what’s better than baking with all those just-picked apples? Not to mention the beauty of a Thanksgiving table mix-and-matched with an assortment of pies — with apples taking center stage, of course!
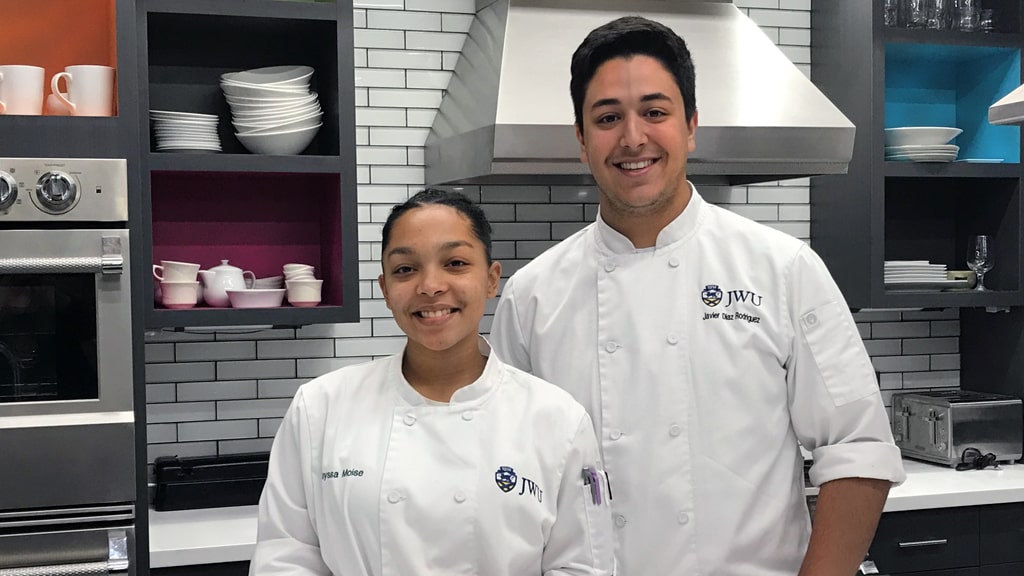
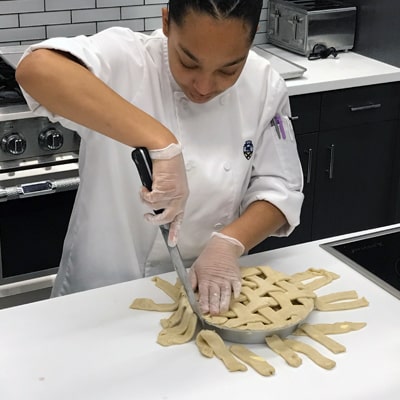
You may remember Javier Diaz Rodriguez '23 from last year’s holiday snowflake cookie recipe – today he is joined by Anyssa Moise '24, a Baking & Pastry Arts major and student assistant with Culinary Operations. They are showing us how easy it is to make your own festive fall pastries at home.
Their easy and delicious recipe for apple pie filling not only showcases the subtly sweet-tart nature of apples, but it can also be used to enliven two perfect holiday pastries: pies and turnovers.
After we run through how to make the filling, we will outline how to create an easy, from-scratch pie dough that can also be used to make a galette, which uses apple slices (rather than a blended pie filling) and is a more freeform version of a pie. (That gets explained in more detail in the dough section.)
Making the Apple Pie Filling
INGREDIENTS
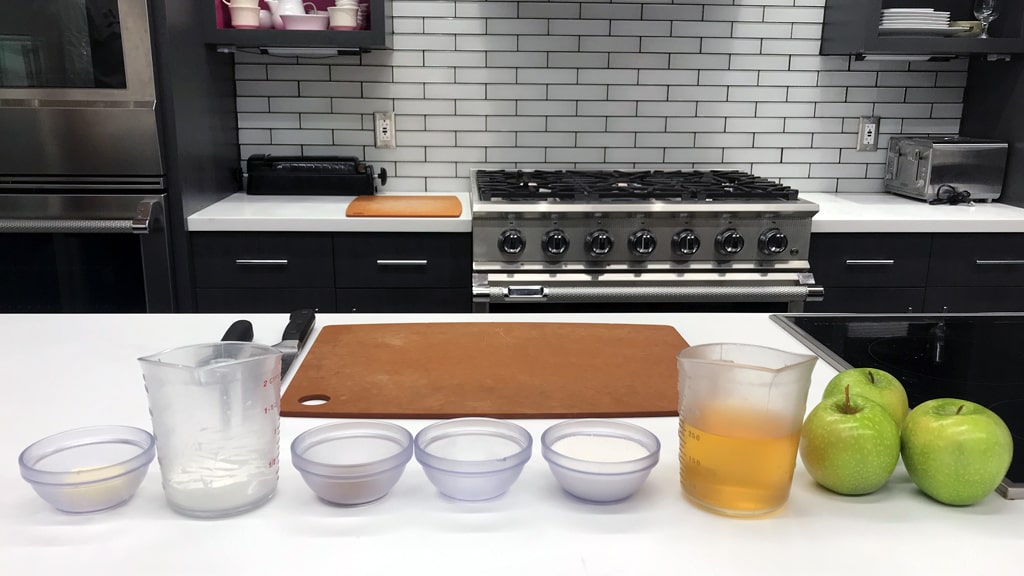
Apples: 3 each, cored and peeled, then diced into uniform pieces
Apple Juice: 1 1/8 cup (284 grams)
Sugar: 3/8 cup (85 grams)
Salt: Pinch
Pumpkin Spice: ½ tsp (3 grams)
Cornstarch: ¼ cup (29 grams)
Butter: 1 Tbsp (16 grams)
DIRECTIONS
- Scale all ingredients.
- In a small container mix a little of the apple juice with the cornstarch to make a slurry.
- Peel and cut apples into large dice.
- Add all ingredients to a large pot, except for the slurry.
- On low heat, simmer all ingredients just to soften the apples.
- After 2-5 minutes, take apples out of the pot leaving the juice inside.
- Bring liquid to full boil and add slurry. Quickly whisk until combined and thicken.
- Take the pot off the heat and add butter.
- Add liquid back to apples.
Tips for a Perfect Pie Filling
1. We recommend Granny Smiths here because they impart a nicely subtle tart flavor to the finished filling. They also hold up well through the whole baking process. More sweet than tart, Honeycrisps are another good choice. (Or mix the two types of apples for a nice blend of flavors.) Choose unblemished fruit without bumps or bruises.
2. If you decide to dice your apples ahead of time, toss them with a little lemon juice to prevent browning.
3. Be careful to measure the cornstarch accurately. “I started using cornstarch because my mom has a gluten intolerance,” notes Anyssa, before clarifying that it can be a tricky ingredient — if you have more cornstarch than liquid, it forms a solid. It will look like a liquid but the moment a spoon hits it, it will stop it.
4. Cool the pie filling completely before adding it to your pastry. This will keep your pie or turnover from becoming soggy!
Watch Javier and Anyssa make the filling:
Make That Pie Dough
INGREDIENTS
Pastry Flour: 2 ¾ cup (340 grams)
Shortening: ½ cup (114 grams)
Unsalted Butter: ½ cup (114 grams)
Water: ½ cup (114 grams)
Salt: 1 tsp (8 grams)
Sugar: 4 tsp (16 grams)
DIRECTIONS
- Scale all ingredients
- Sift together all dry ingredients.
- Grind cold shortening and butter into dough and mix carefully. The correct method of butter and shortening incorporation is the rubbing method, which involves a grinding motion of the hands with both fats together in with the flour until it becomes smaller and flatter pieces, roughly pea-sized, explains Anyssa. You can keep the little chunks of butter, as the pieces of fat create a flakier crust.
- Add water little by little until you feel it’s becoming a firm dough.
- Move dough to countertop and start mixing the dough by hand until completely combined. You should mix until a loose dough ball forms and knead the remaining dry ingredients together on the table until it’s all incorporated with visible pieces of fat. (Fat imparts flakiness!)
- Refrigerate dough before using.
 Pie, Please!
DIRECTIONS
- Let your cooled dough sit out on the countertop for a few minutes before rolling it out. You want it warm enough to be pliable — but not so warm that it’s sticky to the touch.
- Roll out your dough on a floured surface using a dowel-style rolling pin. You’re looking for a 12” round that’s roughly 1/8” thick.
- Carefully transfer your dough to a 9” metal pie pan. Press it into the bottom and sides of the pan using the pads of your fingers. Trim any overhanging dough to a uniform 1” around the entire circumference.
- Pour the cooled apple pie filling mixture into the unbaked pie crust.
- Decorate the top with the extra dough.
- Brush over the top of the dough with egg wash.
- Crimp the edges of the pie with an inverted spoon or with a knife. (See photo, at right.)
- Bake the pie at 375° for 45-60 minutes, rotating halfway through the cooking time. When you see the apple juices bubbling up around the lattice, you know it’s done!
Apple Turnover Variation
DIRECTIONS
For more turnover and hand pie ideas, find yourself a copy of JWU alum Kelly Fields '02’s great baking primer, “The Good Book of Southern Baking.” Every page is filled with great tips and tricks, plus the book includes incredibly detailed recipes for biscuits, drop biscuits, monkey bread, and cinnamon rolls. The turnover recipes in “The Good Book” are much more detailed than the directions below and Fields uses a hybrid bread and cake flour dough (with lots of butter!). Using puff pastry, as Anyssa and Javier do, is a speedy variation.
- Lay out your thawed puff pastry sheets (you should have two) on a floured surface. Using a knife or pizza cutter, cut each sheet into four squares (making 8 turnovers).
- Fill the center of each square with roughly 2 tablespoons of apple pie filling. (Using any more filling risks rupturing.)
- Brush one corner of dough with egg wash and fold it over to form a triangle. Press the edges to seal, then use a fork to indent and seal the sides.
- Bake at 400° on an ungreased baking sheet in the center rack of your oven for roughly 18-24 minutes. (Rotate roughly halfway through.)
Tips for Pie Dough Success
1. While the original recipe called for just shortening, we decided to use a combination of fats. We substituted half butter for flavor and kept the other half shortening because of its high melting point.
3. Metal pie pans are excellent conductors of heat, which helps ensure that the pie crust is evenly browned and fully baked through.
4. When rolling out the pie dough, dust your work surface with rice flour, which won’t contribute additional gluten to the pie crust.
Baking Terms 🥧
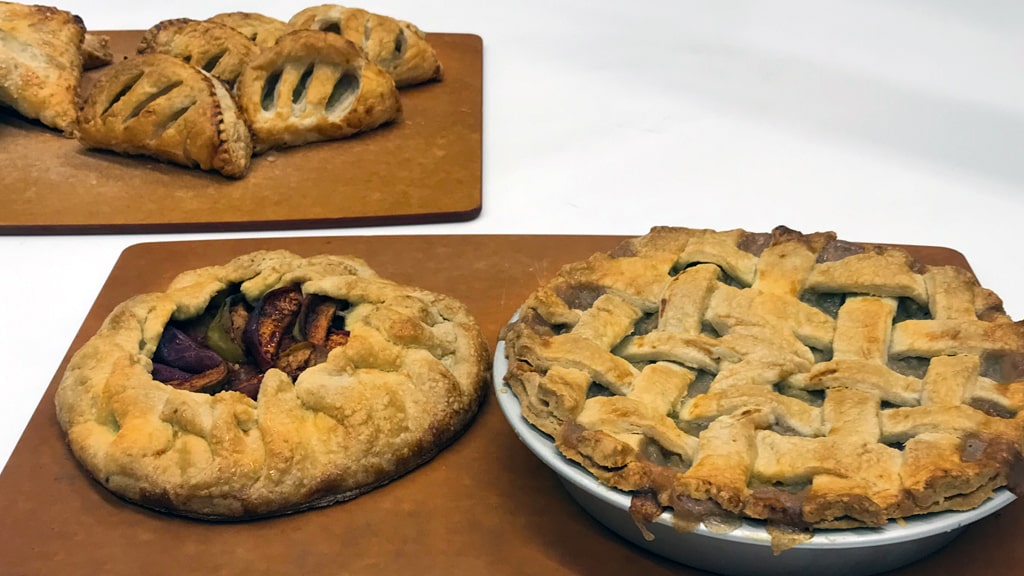
A hand pie is made with pie dough, while a turnover can be made with puff pastry dough (although there are lots of variations); both products are baked in the oven.
A galette is an open-faced and hand-formed pie with a rustic finish, and it’s a great way to showcase seasonal fruits. To make the galette filling, toss peeled, cored and sliced apples with granulated sugar, honey, cornstarch, ground spices (ginger, cinnamon, cardamom, nutmeg, and cloves), vanilla paste, lemon juice, and a pinch of salt.
RELATED FALL RECIPES
Foolproof Pumpkin Pie
Butternut Squash Risotto
TOP AND BELOW: BAKING & PASTRY ARTS MAJORS ANYSSA MOISE '24 AND JAVIER DIAZ RODRIGUEZ '23 SHARE THEIR BAKING WIZARDRY WITH US. BOTTOM: THE FINISHED PIE, GALETTE, AND TURNOVERS.
